
If you love optical illusions, here we present you with an easy and candid way to build a homemade kaleidoscope that both adults and kids will enjoy.
A kaleidoscope is a tube that has several prone mirrors inside and at one of its ends they normally make two sheets of glass. Between them, you can find many unusual objects and of contrasting colors. When viewing inside the tube from the other end, the visions of these things are multiplied symmetrically, generating a really wonderful view. [1]
Mirrors are normally established as a triangular-shaped prism that reflects inward. Thanks to the clumsy design of the mirrors, more or fewer images of the objects within the glass sheets can be multiplied. In case the mirrors are positioned at 45º to each other, when viewing at the end, you can view up to eight images that are counterfeited.
Read Also
Steps to make a homemade kaleidoscope for kids
Draw the kaleidoscope shape
The first measure we must take to build a kaleidoscope is to draw its shape. We must draw a 20×10 cm rectangle on a clear plastic folder. Next, we have to cut it with scissors. Once finished, you have to make three flat lines along with the rectangle, making it split into three 3 cm parts and another 0.5 cm.
It is vital to make these lines simple to fold, after measuring and drawing them. Finally, they must be marked only with a paper guillotine or with the tip of a ruler. You have to mark them, not cut them, remember.
Discover: How to teach children to tie shoelaces?
Plastic bending
The next action is to fold the plastic with the lines we marked in the earlier step, and we will build a three-sided shape. The band that measures 0.5 cm should be towards the end because it will only work as a cover. When everything is folded, we will attach the piece with double-sided sticky tape, making certain that everything is well-built and keeps its shape.
The triangle inside a cardboard roll
Now you have to skim the triangle into a roll of cardboard that fits properly. You can utilize the cardboard roll of kitchen paper, which is lengthened and works well if it has ideal flexibility.
To be ready to make the peephole, we must put the tube straight, and on cardboard, we will trace the edge, we will cut it, and we will make a hole as centered as achievable. Then you have to glue this edge to the end of the cardboard tube.
So that the edge is not so clean, it can perpetually be cut a little longer, and we will make small cuts as a cover to be able to glue it easily at the end of the tube and leave it well adjusted. In this way, the peephole will be much better solidified. It can be taped or glued to cover the whole edge of the tube and the peephole tabs.
You might be interested: How to teach children to ride a bicycle
Inner Triangle Fill
The next step is to utilize plastic, cutting out a 10×10 cm rectangle. We will put the plastic on the opposite end of the tube, and with our fingers, we will place it in the plastic triangle to make a small bag.
Now you have to fill the bag with bright-colored papers, sequins, etc. Any sort of thing that is small and shiny can be utilized, although they should be lightly frosted. Another option is to choose objects of several sizes and shapes, producing totally different images.
A rectangular piece of polished paper, about 10×10 cm, should be put on the bag that we have built. We will place it encompassing the cardboard tube. The next action is to stretch a rubber band over the wax paper and fix it to stop what’s inside from leaking out.
The edges of the squares should be clipped. This way, the kaleidoscope will look much more genuine. If you don’t require the rubber to be noticeable, you can substitute it with masking tape, or, for better design, you can utilize Washi Tape.
Also Read: How to keep children away from drugs
Decorating the surface of the kaleidoscope
So that the cardboard tube does not remain with that brownish color that we all recognize, it can be polished utilizing stickers, wrapping paper, or painting. Other choices are to utilize a sticky coating with natural textures such as marble, wood, or even silver or gold tints. In this way, there will be several alternatives for enhancing our kaleidoscope.
Once the kaleidoscope is enhanced as we like it, we must let it air-dry if we have applied paint. If we have applied stickers, we can utilize them when we finish renovating it.
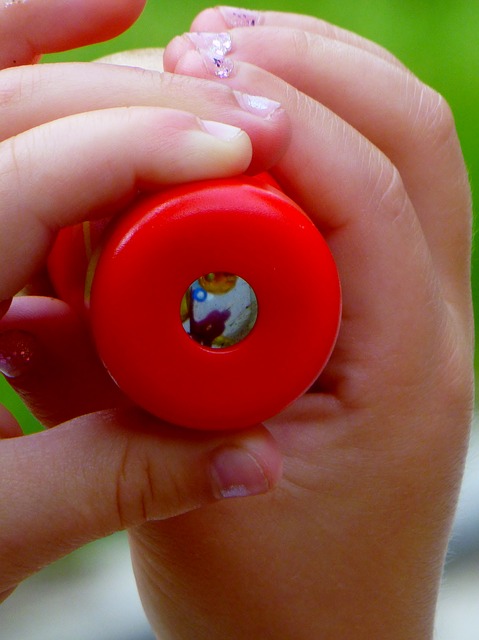
Now we merely have to elevate the tube to the height of one eye and point it straight towards the light to look inside our creation. We can zoom in or out towards the light, as well as turn it to see the highest quality of kaleidoscopic images that are produced by just making a simple movement.
If you have grasped all the steps perfectly, you will have produced a work of art that you can switch whenever you want, although the same images are infrequently repeated. Understanding how it’s made, you can swap out the colored papers and sequins for any additional clear or shiny piece to encourage you to build a universe of absolutely astonishing images.
With this tutorial, you have now discovered how to build a small kaleidoscope. The next level may be to create a much larger one, with a more extensive tube and where several different objects will fit.
You can also replace the plastic cover with a colored or angle one to produce various effects. You can utilize plastic or PVC tubes, which are much more rebellious, and play with all the elements that we have shown you. Build a fully personalized design to your tastes, building something different for you or to give to whoever you desire.